Thursday, March 26, 2015

Final #2: Six Monocular Depth Cues

For this post, I found some monocular depth cues using the game minecraft! A monocular depth cue is something that makes what you're seeing appear 3D even though a computer screen is a flat 2D surface. An example would be standing behind something that obscures your vision in a video game; you are not actually "behind" anything because it is only a flat screen, so anything you cannot see ceases to exist for the moment, but it appears like it would if you were standing behind a tree in the real world, which would certainly block vision.
Since a tree was my example in the above paragraph, here is a visual of that. Here we are in a game on a 2D screen, but this tree appears to be blocking my view of the museum behind it.
Next is size differential, those red blocks way out there that create the torch of the Statue seem very small, thus making it look like they are far away, even though the screen is 2D.
Next is lighting, the blocks in the middle seem brighter because they are by a window, and the blocks to the left are darker because less "light" is hitting them, when in reality, there is no actual "light".
Here we have a canal, which fits into the part in the text at http://web3deducation.com/bc/MT35101/ONLINE_CLASSES/3D/CoreWeb3D_ch03.pdf about a rail road, the blocks "farther away" appear closer together to give the illusion that we are looking at something that goes off into the distance, when in reality there is no "distance" you could just reach out and touch your computer screen.
Another is detail, in this pic the mountain appears to be poorly detailed because we cannot see that far away, in reality it is just blocks appearing smaller, and being purposely less detailed to give the illusion of a real world occurrence.
Last is another example of size and distance, the first circled block seems bigger than the second, to make it appear like the second is farther away.


This is a final project using minecraft to explain some examples of monocular depth cues. It is a final exercise from the Immersive Education course that I am taking at Boston College. The course is called Discovering Computer Graphics. For details, visit the immersive BC portal at http://ImmersiveEducation.org/@/bc

Wednesday, March 25, 2015

Final Project Step 2, Part 2: My Completed Immersive Library/Museum

When all was said and done I had myself a museum that was (hopefully) like nothing people will ever see in the real world! As for an exact block count, I am not sure. From left to right the museum is roughly 40 blocks long, front to back is about 35. The Statue of Liberty is roughly 43 blocks tall, 50 at the top of the torch and 20 blocks across, as well as a lot of smaller things.


Here we begin our tour of my virtual museum with some pics from above to see the whole thing.

As seen in the bottom right of the top pic, our first 3D object is lava viewing area for guests to see before entering, as well as a fountain.


Walking a bit more to the right, we get a view of the second 3D object from the bottom, which is a giant ice sculpture of the Statue of Liberty.


Next, taking a look inside we see the first floor and toward the back, our first museum display.


Upon closer inspection, we can see that it is a bed....used by George Washington during the American Revolution.


Next we take a walk up the stairs to the second floor and walk around a bit to check things out.
Walking toward the back, we see our second museum display which is none other than...


Paul Revere's horse!!! Guests can get an up close look at a great piece of American history. This thing is a lean, mean stallion...looks good for being 250 years old..


Now let's take a walk up to the third floor!


 When we get up the stairs, a waterfall is visible through the first window, as well as some foreshadowing on the wall! ;-)
 Take a right and you can partially see the statue's arm out of this window.
 Walk to the other side of the room and the front is a big window with some waterfalls flowing past it.
 Over in the corner there is the 3rd museum display.
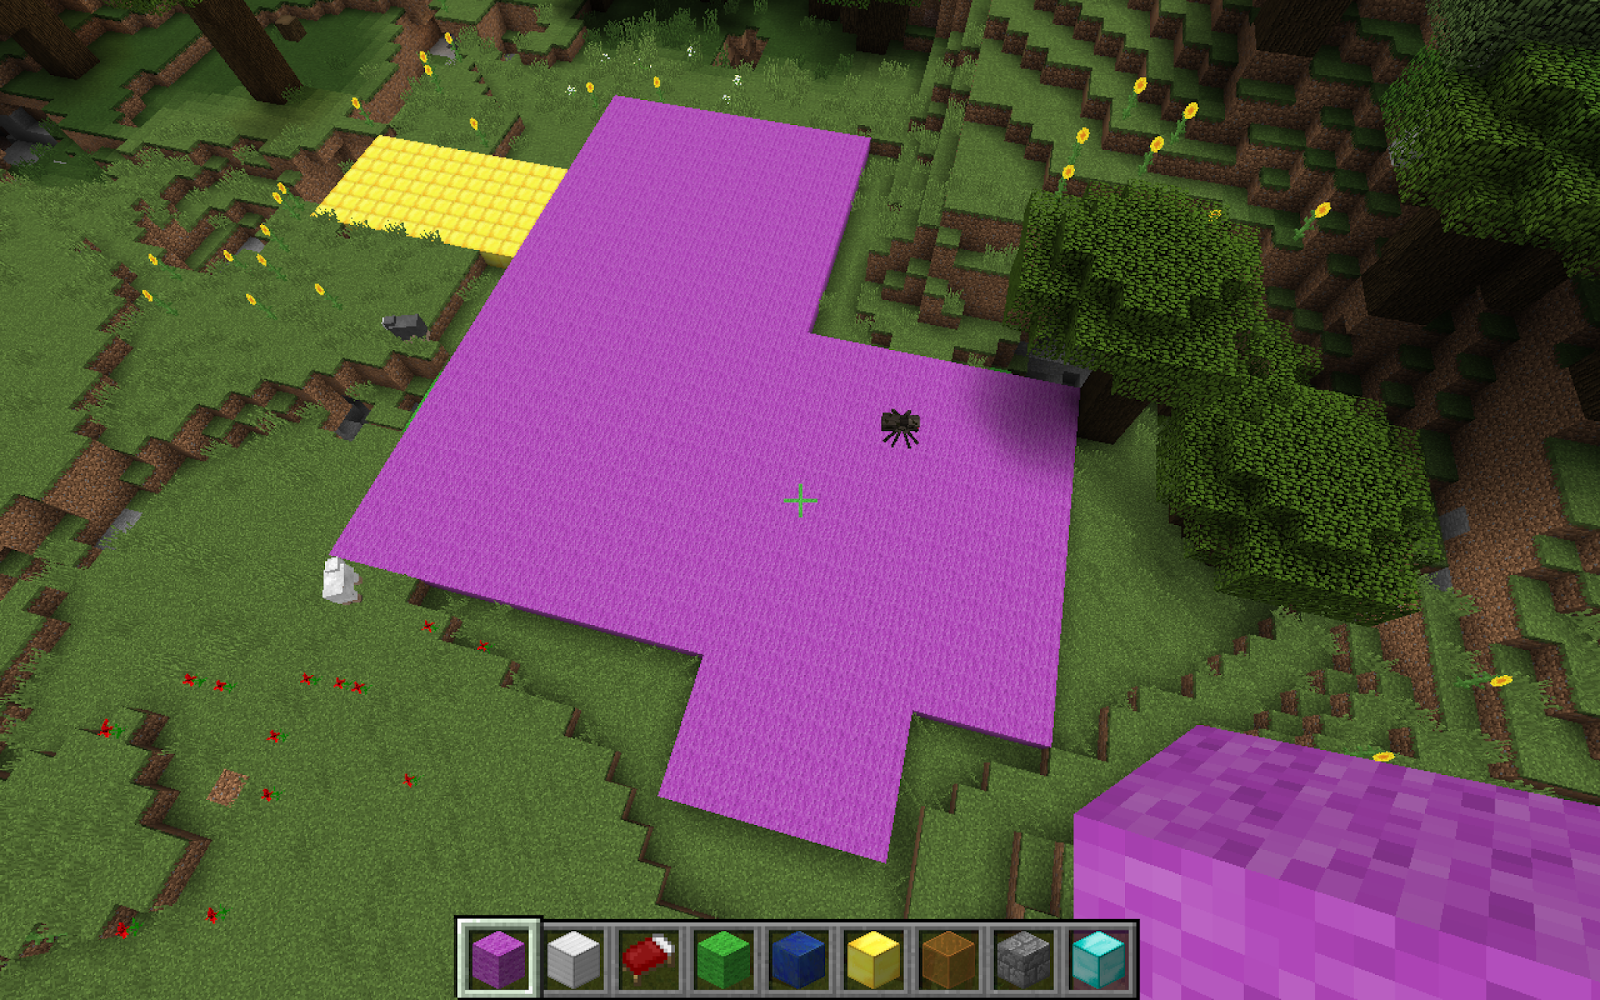
Looks like some sort of closed in area, what could it be?...


 AAHHHH GOD WHY
 Enough of the 8 legged freak, we now go up to the top floor where we can see some 3D waterfalls flowing off the building, as well as get a closer look at the statue!
 More waterfalls
On the other side is the 3rd 3D object (unless the waterfalls count too), the swimming pool! There is a staircase to get into it and it flows out and over the edges as two more waterfalls.


Here's another view. (Side note: The spider escaped... that sucks)


The last 3D object is the canal that runs thru the statue's feet and into a pool behind him.


It was getting dark at this point, which is the best time to see the lava viewing area because it glows!


 After a nights sleep in George Washington's bed, here is another view of the main entrance which is a gold walkway and waterfalls coming down each side.
Here is another look at (mostly) the whole place!
Last is a view from the top of a nearby mountain. Hope you guys like it!!

Approx inventory:
Museum: 3,000
Statue: 900
Water tunnels: 300
Floors/ceilings: 1,300


This is a final project using minecraft to build an immersive library/museum. It is a final exercise from the Immersive Education course that I am taking at Boston College. The course is called Discovering Computer Graphics. For details, visit the immersive BC portal at http://ImmersiveEducation.org/@/bc

Tuesday, March 24, 2015

Final Project Step 2, Part 1: Building My Immersive Library/Museum

For this assignment, I had to build a museum like no one had ever seen before... you can be the judge! (see completed assignment museum walk-through at http://computergraphicsbostoncollege.blogspot.com/2015/03/final-project-step-2-my-completed.html)
 I began by drawing an outline to fill in.


 After filling it in, I added some layers and a door

 Beginning to take shape, yet keeping it as unusual as possible!

 I then dove inside to add levels and stairs to the museum

 After the layers, I worked a bit adding light and windows to the inside so it was not so dark.


 Above, we can see the first step in my plan finished.
Below, we see step two, a giant ice sculpture of the Statue of Liberty beginning to form.

All done!

Here I am adding some waterfalls (one goes between the statues feet), and swimming pools to the top of the museum.
Finally! See the full walk-thru at http://computergraphicsbostoncollege.blogspot.com/2015/03/final-project-step-2-my-completed.html.


This is a final project using minecraft to build an immersive library/museum. It is a final exercise from the Immersive Education course that I am taking at Boston College. The course is called Discovering Computer Graphics. For details, visit the immersive BC portal at http://ImmersiveEducation.org/@/bc